Bambino Huey Copycat Recipe ("Bambino Huxley")
This post contains affiliate links. I only link to products that I have personally used and feel comfortable recommending. If you use these links, it does not increase the cost for you. It does help support this blog and my family, which allows me to bring you more helpful content. I really appreciate it when you use these links to purchase these products!

Years ago, in the early days of my relationship with my now-husband, he told me about an exquisite, elusive dessert called the “Bambino Huey.” He had experienced it in an italian restaurant called “Boccone’s,” and he absolutely raved about its flavor and uniqueness. Boccone’s closed when he was a teenager and he hadn’t seen the dessert for nearly 20 years by the time he was telling me about it. His eyes lit up and I could almost hear his stomach growl as he described the special treat.
A few years and two kids later, my husband’s mom surprised him with some “Bambino Huey” for his birthday. Turns out, Al (the creator) was selling it out of The Bread Box bakery in Artisans’ Alley, San Antonio. She bought it “to go” in individual plastic ramekins, and we re-heated it and added real whipped cream at home. This was my first time to try the “Bambino Huey” and OH MY GOODNESS Y’ALL… it totally lived up to the hype! It was creamy and gooey and buttery and decadent and delicious! I had never tasted anything like it, so it was difficult to describe it. It was such a mystery, my mind started trying to piece together the flavors I was tasting. We were so excited to be able to get our hands on this delectable dish, but it wasn’t for long. The very next time we visited San Antonio, we went to The Bread Box only to find that he had stopped selling them there!
Another year or two passed before we heard news that Al would be selling his famous dessert at Conroy’s Bar & Grill. We were elated! We purchased them a few times through Conroy’s and delighted over the ability to get our “Bambino Huey Fix” once again. However, they were quite expensive, and my mind kept mulling over the flavors. I knew that this recipe was not that complex. I could see there was a cake-like layer with an additional goey, buttery, cream-cheesy layer. I just had to get the right ratios. So, inspired, I started testing recipes. It took me a few tries, but I now have a finalized recipe that our family swears is even BETTER than the original (dare I say it?).
So, without further ado, here is my Copycat Bambino Huey Recipe (I call it Bambino Huxley, named for my youngest son):
Copycat Bambino Huey Recipe
“Bambino Huxley”
Ingredients
Cake:
2.5 cups organic unbleached all-purpose flour
1.5 cups granulated sugar
1 TBSP Baking powder
1/2 tsp salt
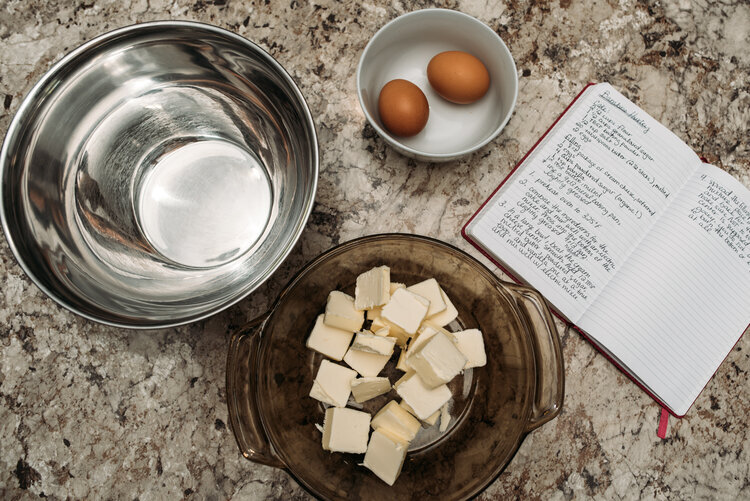
20 TBSP (or 2.5 sticks) Butter, melted
2 eggs
Deliciously Gooey Topping:
1 (8oz) Package Cream Cheese, softened
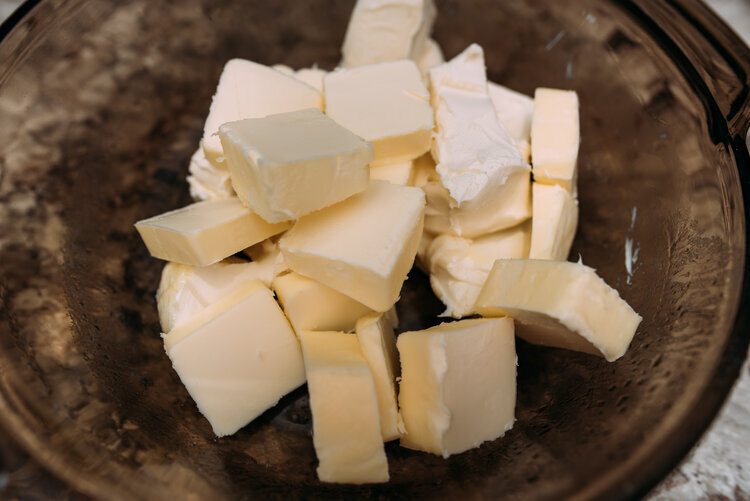
12 TBSP (or 1.5 sticks) Butter, melted
1 tsp Vanilla
4 cups organic powdered sugar
2 eggs
Instructions:
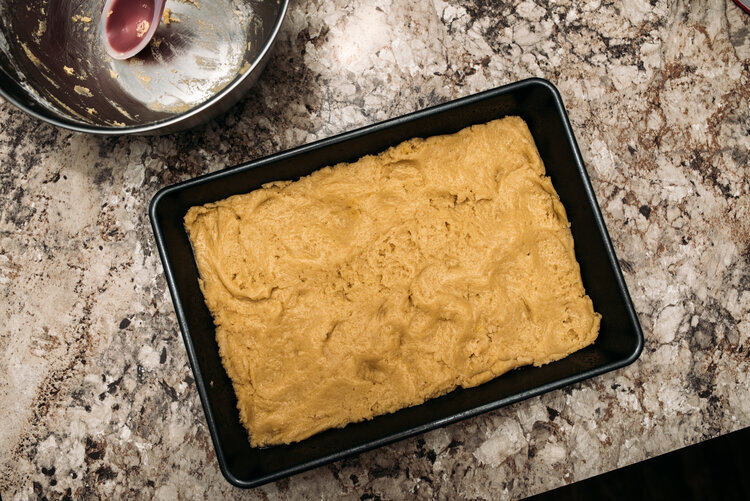
Preheat oven to 325°F. I have the best results when using 9x13 metal baking pan, like this one. You can use a glass dish, but the texture of the crust does change slightly. You can also choose to make this in the original “Bambino Huey” style (individual portions) by baking it into ramekins like these, but I haven’t tried it this way since I’m always baking for a big group (hello family of five). Lightly grease your pan.
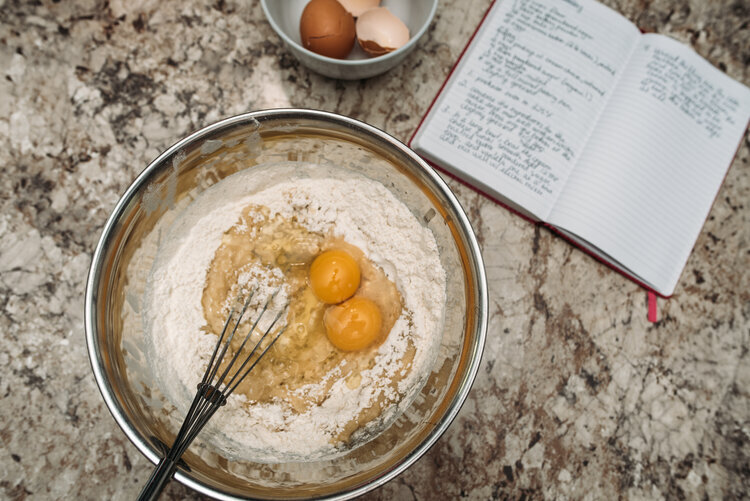
Combine the ingredients for the cake and mix well with an electric mixer, or with a fork. Press into the bottom of the lightly greased pan.
To soften the cream cheese and butter, I usually slice them both into a microwave safe bowl and microwave them until the butter melts, then I leave them sitting together for a few minutes.
In a large bowl, beat the cream cheese and butter until smooth. Add the vanilla, then half of the powdered sugar. Mix, then add the eggs and mix again. Now add the remainder of the powdered sugar and blend until smooth.
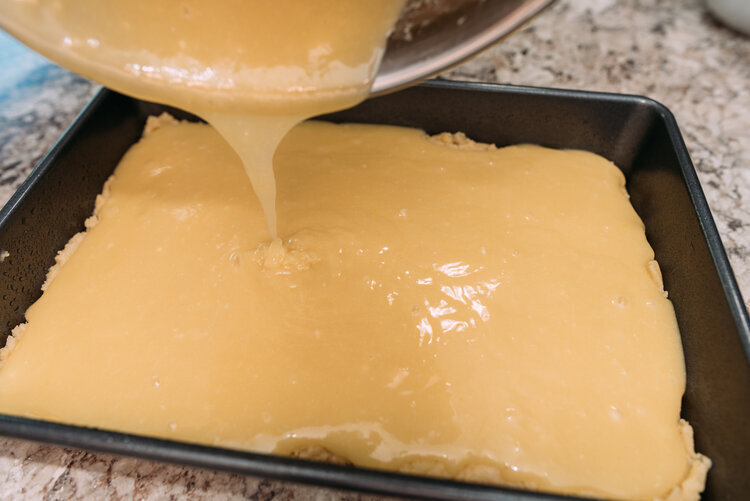
Spread the filling over the cake mixture.
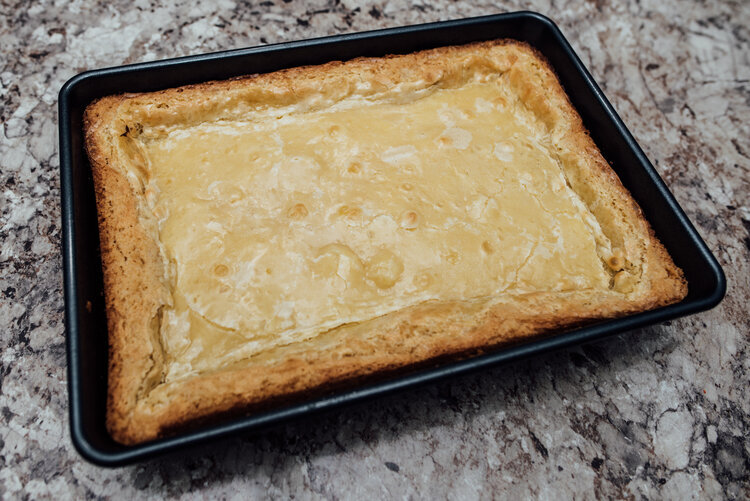
Place into the oven and bake for 40-45 minutes. Make sure not to overbake. The top/center is supposed to be gooey, so you mostly need to check that the cake edges are golden. You don’t want to burn the cake bottom.
Let cool 30 minutes.
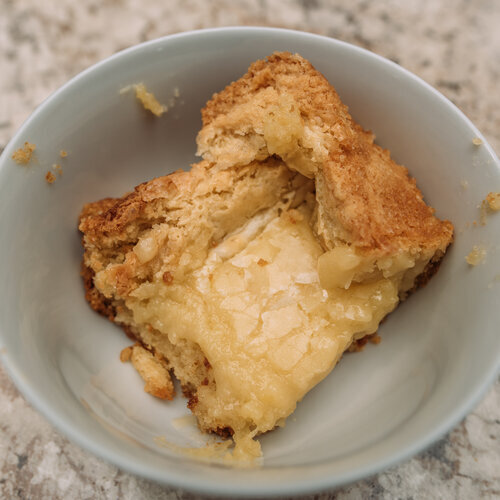
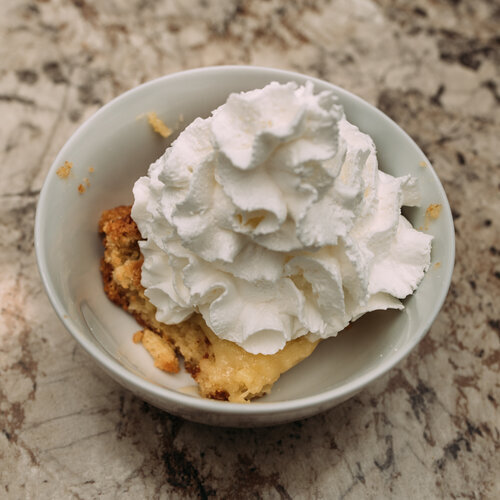
Serve warm with real whipped cream! This cake is super rich, so small servings are best. If the cake has cooled too much, just pop each serving in the microwave for about 10-15 seconds before adding your whipped cream.
The leftovers can be stored in the fridge (up to 3-5 days). Heat each serving in the microwave for 20-30 seconds before adding whipped cream and digging in. This dessert does freeze well. You can freeze the whole cake or you can create individual portions and freeze. Just thaw in your fridge and heat before serving.